Cricut Maker Cutting Machine
Before you get started, read the overview on our cutting machines to make sure you know which machine best suits your project and to learn what you need to do before using the machine.
To get started with the Cricut, read or review the information below, then walk in during our open hours in Rose Library.
If you haven’t used Adobe Illustrator before, expect to spend at least an hour learning how to complete some basic tasks with it before working with the machine. As always, assistance and materials are provided by Makery staff. Additionally, we regularly hold workshops on how to use Adobe Illustrator.
How to Use the Cricut Maker
The Cricut Maker is connected directly to one of the computer workstations, which has the Cricut Design Space software installed already. To cut or plot a design with the Cricut, follow the steps below:
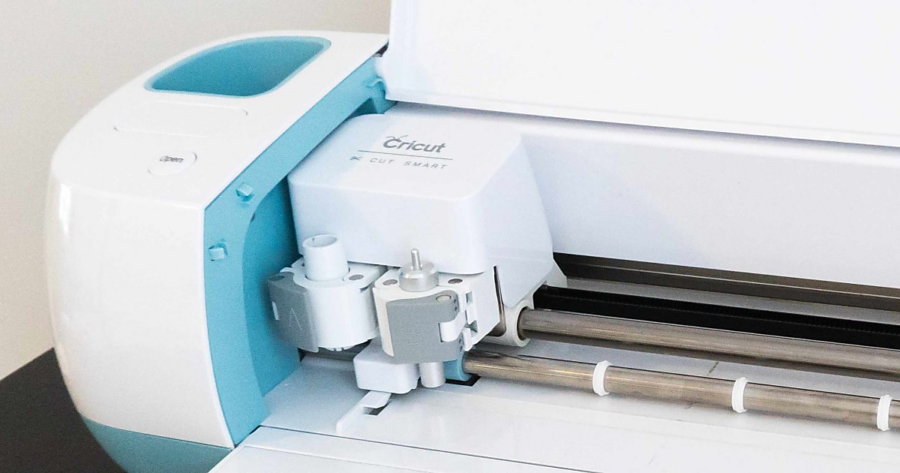
- Make sure the Cricut Maker machine is on. Install the selected material on one of the provided mats. The blue “LightGrip” mats work best for most cardstock or construction paper.
- Open the Cricut Design Space application and create a New Project.
- Upload an .svg (Scalable Vector Graphic) design file using the panel on the left and select the “Insert Images” button to add it to the canvas.
- Use the provided tools to adjust size, positioning, number of copies, etc.
- If the design has multiple disconnected components, select them all and click the “Attach” button that says to make sure they will all retain their position relative to each other.
- When the design is ready, press the “Make It” button in the upper right corner. The Cricut app will automatically sort different shapes by color and assign them to different cutting steps.
- Click “Continue” and follow the on-screen instructions to finish the project.
Cricut Tips
- Make sure there’s space in front of and behind the Cricut Maker for materials to move around.
- Supplies for creating a vinyl label/sticker are in the cabinet near the cutter/plotter.
- Feel free to bring your own material to use with the Cricut Maker. So much can be done with the Cricut Maker that we may not have everything! Just be sure to use the correct blade for your selected material.
- Cricut Maker Manual
Troubleshooting & Common Issues
“The Cricut moved my design away from where I had it!”
By default, the Cricut app automatically positions designs on the cutting area to use the least amount of material. You may need to reposition your design on the mat at the “Make It” stage if, say, you are cutting a design out of the front of a card. If you need certain elements of your design to retain their position relative to each other, select them all and use the “Attach” tool at the bottom of the main design space.